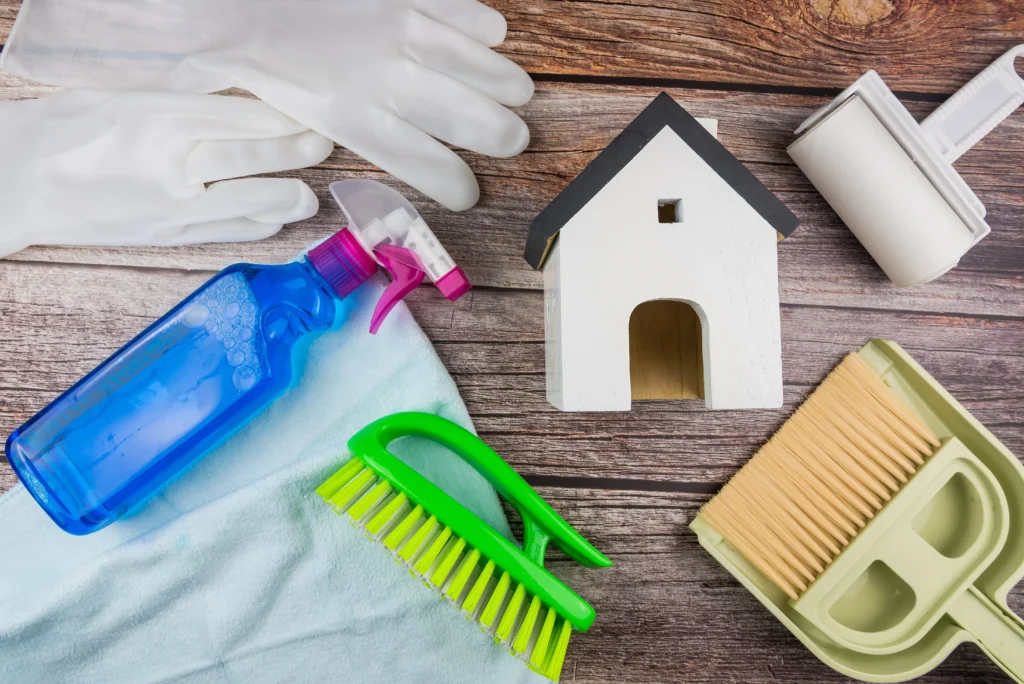
The excitement of a newly renovated or constructed home can quickly be overshadowed by the daunting task of post-construction cleanup.
Dust, debris, and remnants of building materials seem to have found their way into every nook and cranny.
But fear not! With these five professional tips, you can transform your space from a construction zone to a sparkling, clean haven.
1. Safety First: Gear Up and Prepare
Before diving into the cleanup process, it’s crucial to prioritize safety. Construction sites, even after completion, can harbor hazardous materials and sharp objects.

Post Construction Cleaning
- Wear protective gear: Don a pair of sturdy work gloves, safety goggles, and a dust mask or respirator. This equipment will shield you from harmful particles and potential injuries.
- Ensure proper ventilation: Open all windows and doors to allow fresh air to circulate. If possible, set up fans to improve airflow and help remove airborne dust particles.
- Check for hazards: Before starting, do a walkthrough to identify and remove any obvious hazards like exposed nails, loose wires, or unstable materials.
Remember, if you encounter materials you suspect might contain asbestos or lead, stop immediately and consult with a professional. These substances require specialized handling and disposal.
2. Start from the Top: The Ceiling-to-Floor Approach
When it comes to post-construction cleanup, gravity is both your friend and foe. Dust and debris will inevitably fall as you clean, so it’s essential to work from top to bottom.
- Begin with the ceiling: Use a long-handled duster or a vacuum with an extension wand to remove dust and cobwebs from the ceiling and upper corners of walls.
- Move to the walls: Wipe down the walls with a slightly damp microfiber cloth. For stubborn marks, use a magic eraser, but test it in an inconspicuous area first to ensure it doesn’t damage the paint.
- Clean light fixtures and fans: Dust can accumulate heavily on these surfaces. For ceiling fans, try the pillowcase trick: slip a pillowcase over each blade and pull it back, trapping the dust inside.
- Tackle windows and sills: Clean glass surfaces with a streak-free cleaner and wipe down windowsills and tracks.
- Finally, address the floors: Save this step for last to avoid re-cleaning areas where dust has settled.
By following this top-down approach, you’ll avoid the frustration of cleaning an area and only having it dirty again by falling dust.
3. Embrace the Power of HEPA: Invest in Proper Filtration
One of the biggest challenges in post-construction cleanup is dealing with the fine, pervasive dust that seems to linger in the air and settle on every surface. This is where High-Efficiency Particulate Air (HEPA) filtration becomes your best ally.
- Use a HEPA vacuum: These specialized vacuums can capture particles as small as 0.3 microns, effectively removing even the finest construction dust. Pay special attention to corners, baseboards, and any textured surfaces.
- Consider an air purifier: Running a HEPA air purifier during and after your cleanup can help capture airborne particles, improving indoor air quality.
- Don’t forget your HVAC system: Replace your furnace and air conditioning filters with HEPA filters. You may need to change them more frequently in the weeks following construction.
Proper filtration not only makes your cleaning efforts more effective but also contributes to a healthier living environment by removing potentially harmful particulates from the air.
4. Tackle Tough Spots: Addressing Specific Cleaning Challenges
Post-construction cleanup often involves dealing with stubborn messes that go beyond everyday dirt. Here are some tips for handling common challenges:
- Paint splatters: For fresh paint on non-porous surfaces, try hot, soapy water. For dried paint, use a plastic scraper or a specially formulated product designed to remove paint without damaging the underlying surface.
- Adhesive residue: Whether from tape or stickers, adhesive can be a pain to remove. Try using heat from a hairdryer to soften the adhesive, then gently scrape it off. For stubborn residues, use a citrus-based adhesive remover.
- Grout haze on tiles: New tile installations often leave a cloudy film known as grout haze. Use a specialized grout haze remover and follow the manufacturer’s instructions carefully.
- Dust in vents and registers: Remove vent covers and vacuum thoroughly. For a deep clean, wash them in warm, soapy water and dry completely before reinstalling.
